#NerdU: Character Rigging in After Effects
At Firefli, we love “Sharing in the Nerd”. Part of what makes us work well together is our constant curiosity for what one another is working on and sharing new tips and tricks we’ve discovered. At our monthly #NerdU meetings, we take the opportunity to show and tell what we’ve been nerding out on.
Animations on the web are better than ever. When used in the right place at the right time, they can enhance a brand’s personality and take engaging content to the next level. Movement should be eye-catching yet purposeful, ultimately contributing to whatever you experience of message you seek to convey to the user.
Building Your Character in Adobe Illustrator
A good animated character must have a well designed foundation.
When designing a character – whether a person, an animal, or a creature – it’s easy to focus the design rather than the function. When designing for character rigging, it’s important to think about the joints first. They’ll control the movement points will before the design is moved into After Effects.
Quick Tip: Make sure you have an organized naming convention for your design file. Keeping your parts organized will make rigging the parts of the body much faster.
Rigging in After Effects
Using a plug-in, Overlord by Battle Axe, the AI file is imported into Adobe After Effects. This plug-in acts as a one to one “portal” from Illustrator into After Effects, retaining organization structure and converting layers for you.
Now begins the true work. Leveraging the concepts of kinematics -yes we use physics as a digital agency – we’re able to guide the movements of the design in an intuitive, fluid manner. Inverse kinematics is the golden standard for digital animation. The equation starts from the bottom and moves upward, calculating how each part of the animation will move next by how far the part before it moves. It creates a more fluid movement that feels more natural on your screen.
Forward kinematics begins the movement from the top – down. Imagine your shoulder movement controlling how your upper arm, elbow, forearm, and wrist behave.

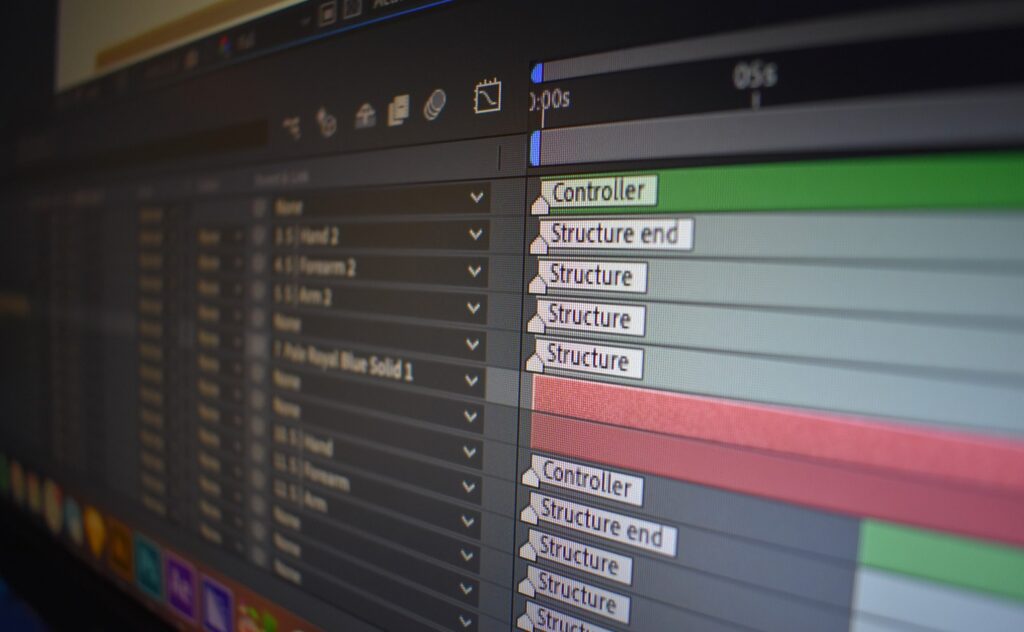
After understanding these concepts, it’s time to begin to rig the design to a timeline. Using DUIK, another After Effects plug-in that provides a toolset of that allows animators to easily rig the shapes of their character to a “bone structure” that will guide the animation. Essentially, it will become a skeleton or wireframe over the design. By parenting the joints of the structure to your design, you’re essentially skinning the skeleton. From here, you can begin programming movement.
DUIK also features a helpful tool that helps you auto-rig your character. By making anchor points at the bottom of your limbs, you can enact inverse kinematics. The auto-rig feature is made to animate characters with a general walking style. If you’re trying to create more complex movements, you will need to animate by hand by using keyframes on the timeline.
Ultimately, there are a million different ways to animate and use character rigging to bring your design to life. We’re always looking for new plug-ins to try, so if you know of any great tools, send them our way!